-
Area calculator

Wide range of more than 100 references

Committed and compliant products

Easy installation thanks to pre-assembly
.svg)
Products subject to a sorting rule
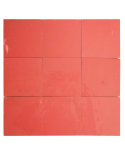
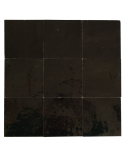
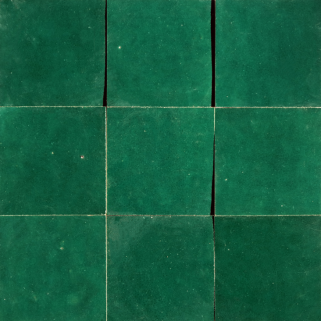
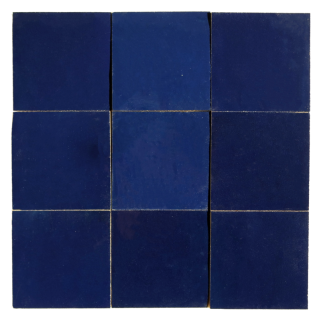
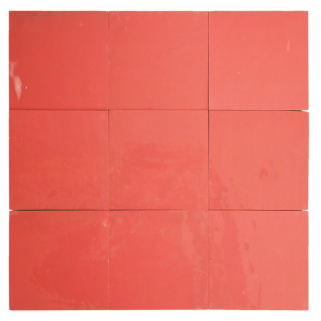
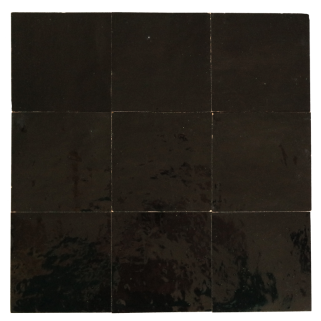
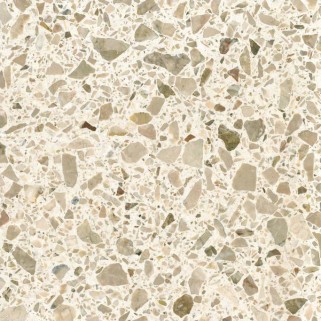
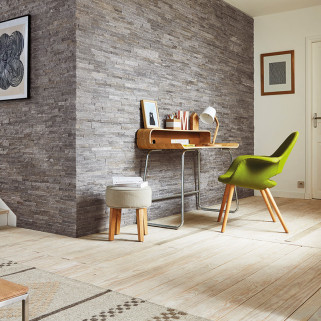
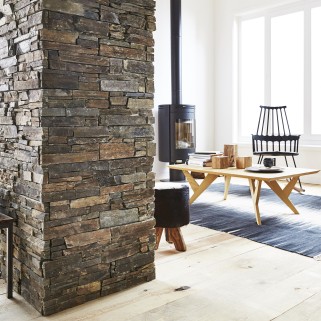
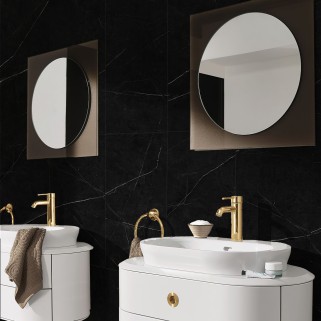
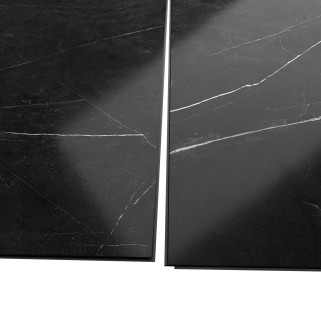
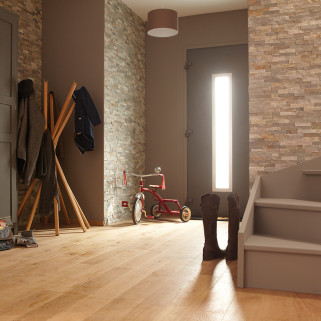
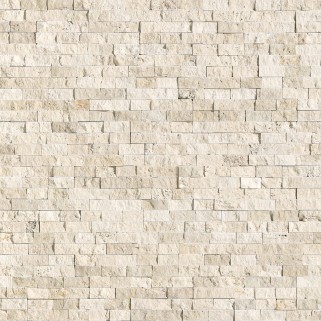
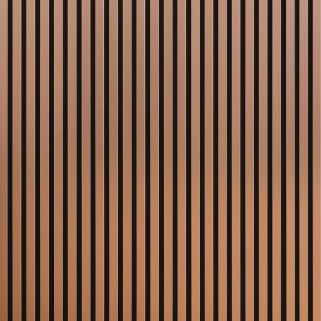
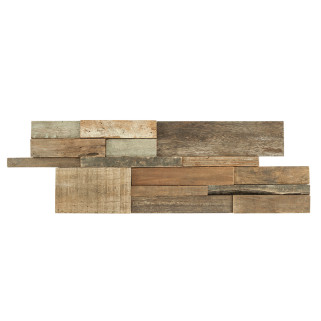
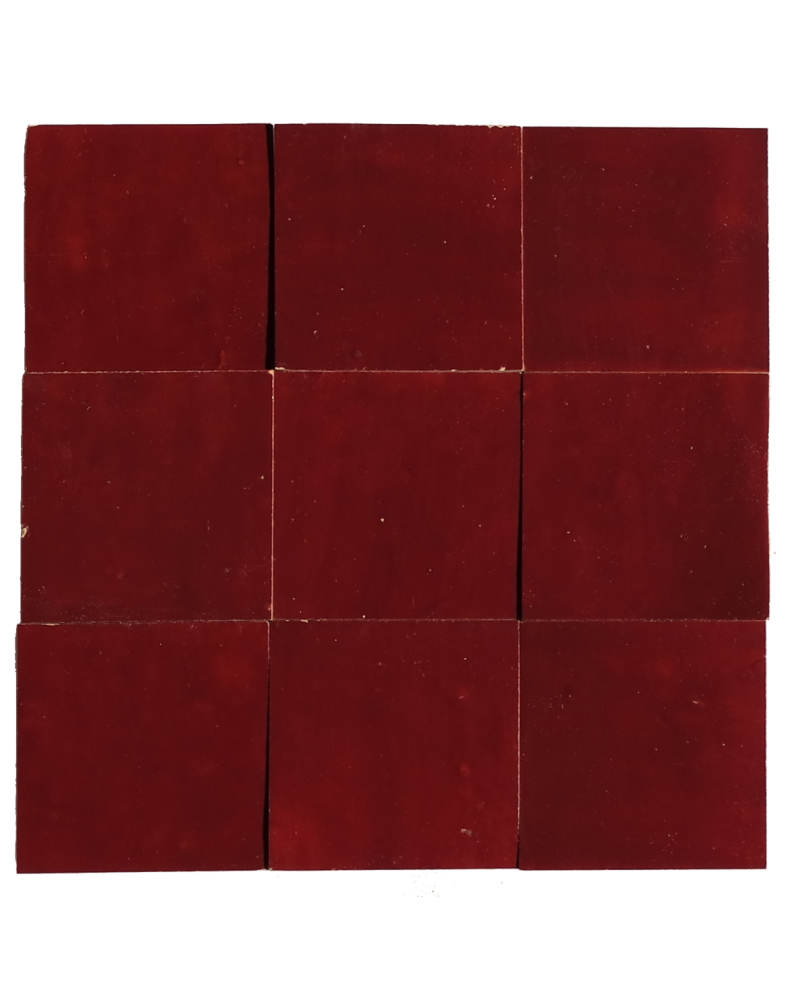
With its unique tiles, zellige is a glossy wall tile that instantly adds authentic charm.
Its uneven surface captures light to create incomparable reflections. A true artisan gem, each piece is carefully handcrafted to elegantly adorn any space.
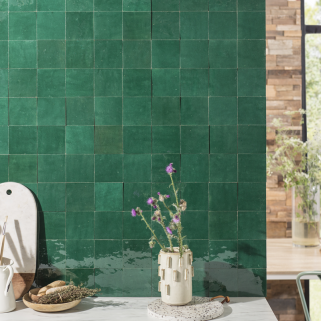
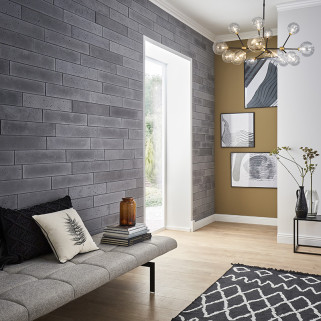
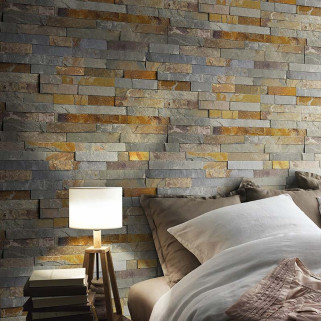
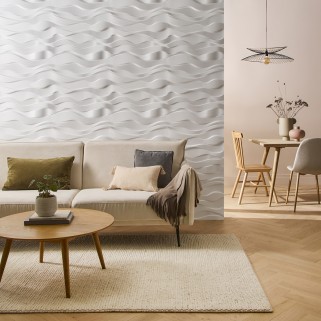
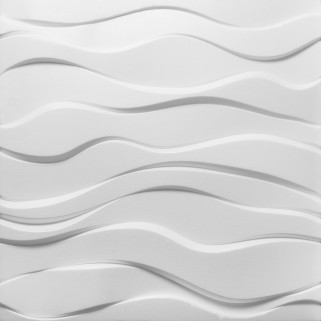
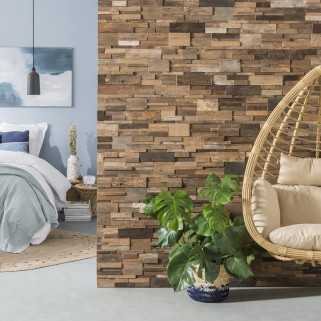
🧱 It is easy to install, with or without grout, allowing for patterns adapted to every style and space: subway, herringbone, horizontal, or vertical... The result is always stunning.
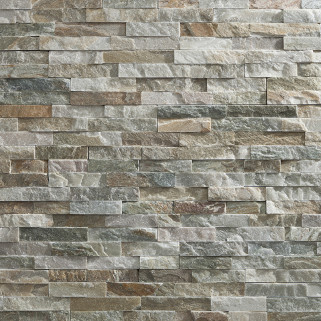
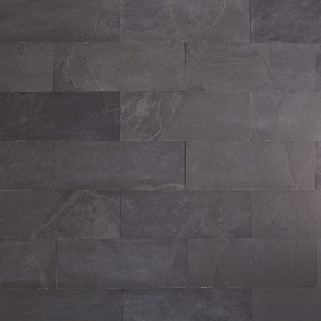
🌈 Available in a wide range of colors to match any ambiance. Thanks to its uniform dimensions, it is even possible to mix colors.
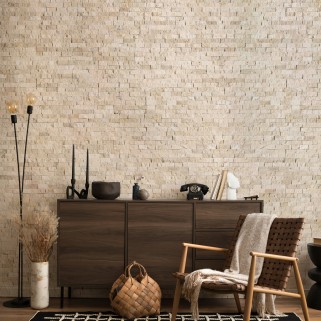
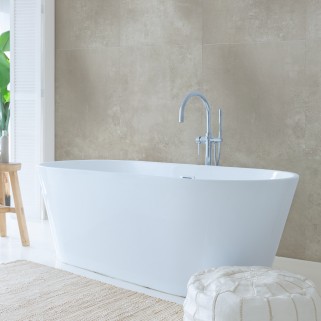
🧽 Particularly durable, it is perfect for kitchen backsplashes exposed to heat and stains, as well as bathrooms and their humidity. Besides being resistant, it is timeless and very easy to maintain.
Data sheet
Material Required
• Square ruler
• Spirit level
• Measuring tape
• Notched trowel U6 or V6
• Manual or electric wet tile cutter
• High‑performance tile adhesive (type C2S)
• Tile spacers
• Rubber mallet
• Safety glasses and gloves
• Finishing grout
• Trowel
• Sponge
• Straight edge
STEP 1: Soak the Zellige Tiles
• Submerge the tiles in water for a few minutes.
• Let them drain for 10 minutes (avoid oversaturation).
STEP 2: Batch Mix
• Mix all tiles together to ensure uniform color distribution.
STEP 3: Prepare a Suitable Surface
• Ensure the surface is flat, clean, and completely dry.
• Apply a water‑repellent primer to the substrate following manufacturer instructions.
STEP 4: Apply Adhesive
• Verify the adhesive is a high‑performance C2S type (wear gloves).
• For double bonding, trowel adhesive onto both wall and tile backs with your U6/V6 notched trowel.
• Install tiles by hand in a “butt joint” (≈ 1 mm gap) without spacers—or use very thin spacers as needed.
• Check each row is level with your spirit level.
STEP 5: Start at the Bottom
• Begin with the first row at the base of the wall, pressing firmly for good adhesion.
• Continue upward, checking flatness with your straight edge.
• Adjust each row with spacers if necessary.
STEP 6: Remove Excess Adhesive
• Wipe away adhesive as you go for a clean finish.
STEP 7: Make Cuts as Needed
• Use your wet tile cutter to trim tiles.
• Always wear safety glasses and gloves when cutting.
STEP 8: Grout
• Wait until the adhesive is fully dry.
• Apply grout with a trowel, then clean tiles with clear water.
STEP 9: Maintenance
• Clean tiles with clear water or a neutral‑pH solution.
• Do not cover tiles during the drying period.
ADIB declines all responsibility if these instructions are not followed. Installation implies acceptance, meaning no claims can be made after installation except for hidden defects.
-