-
Area calculator

Wide range of more than 100 references

Committed and compliant products

Easy installation thanks to pre-assembly
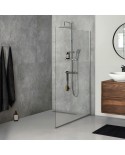
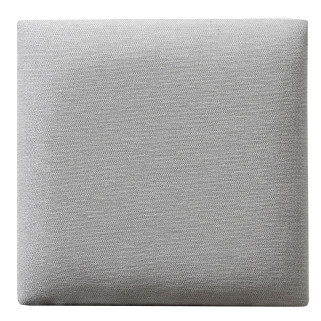
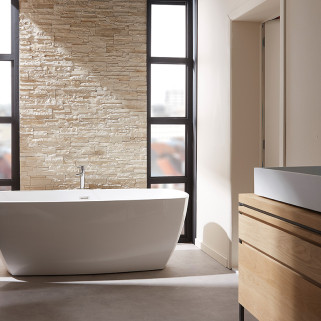
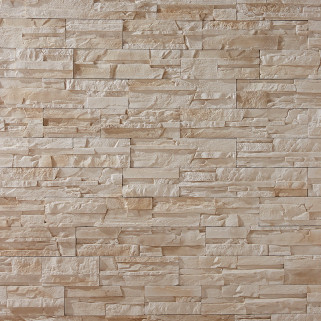
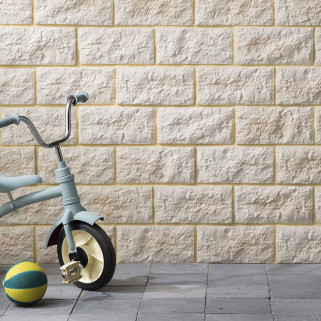
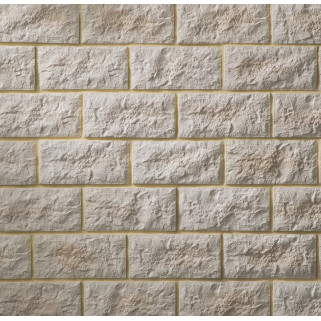
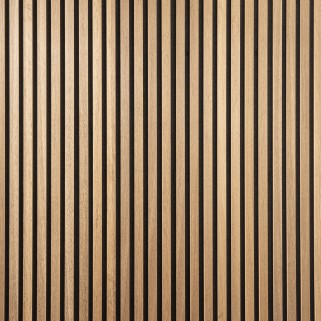
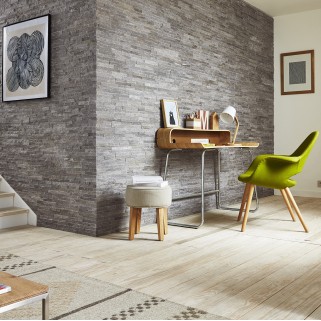
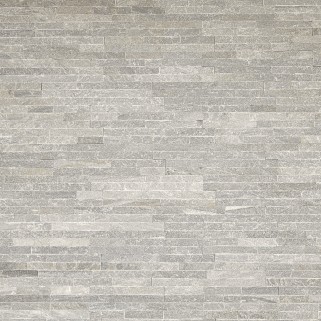
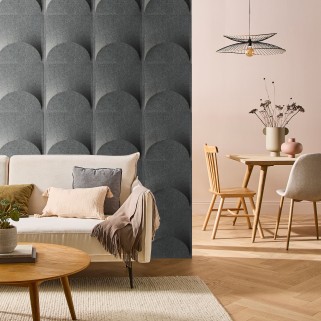
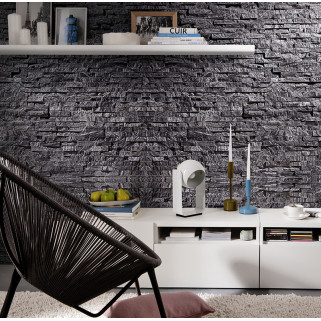
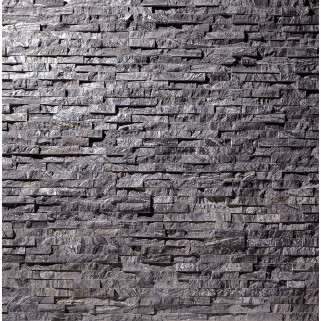
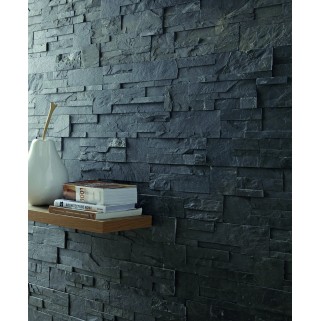
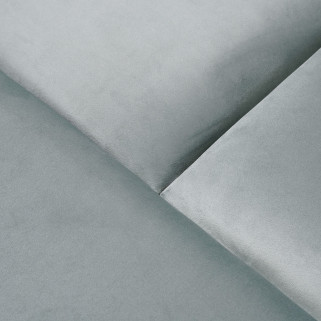
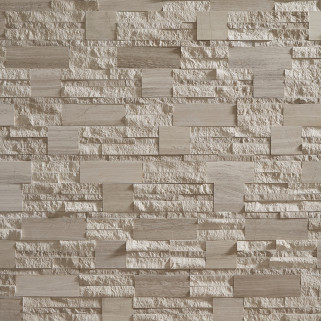
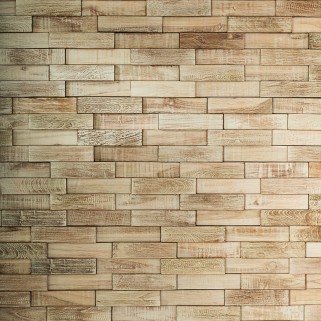
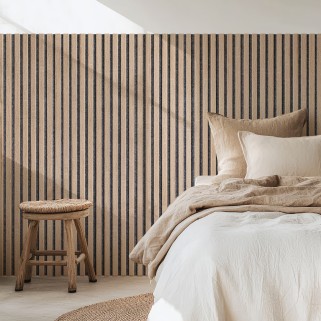
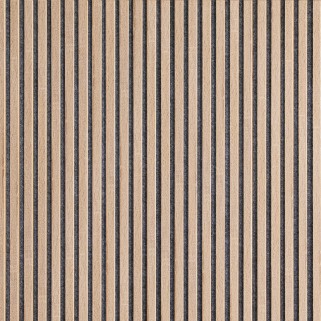
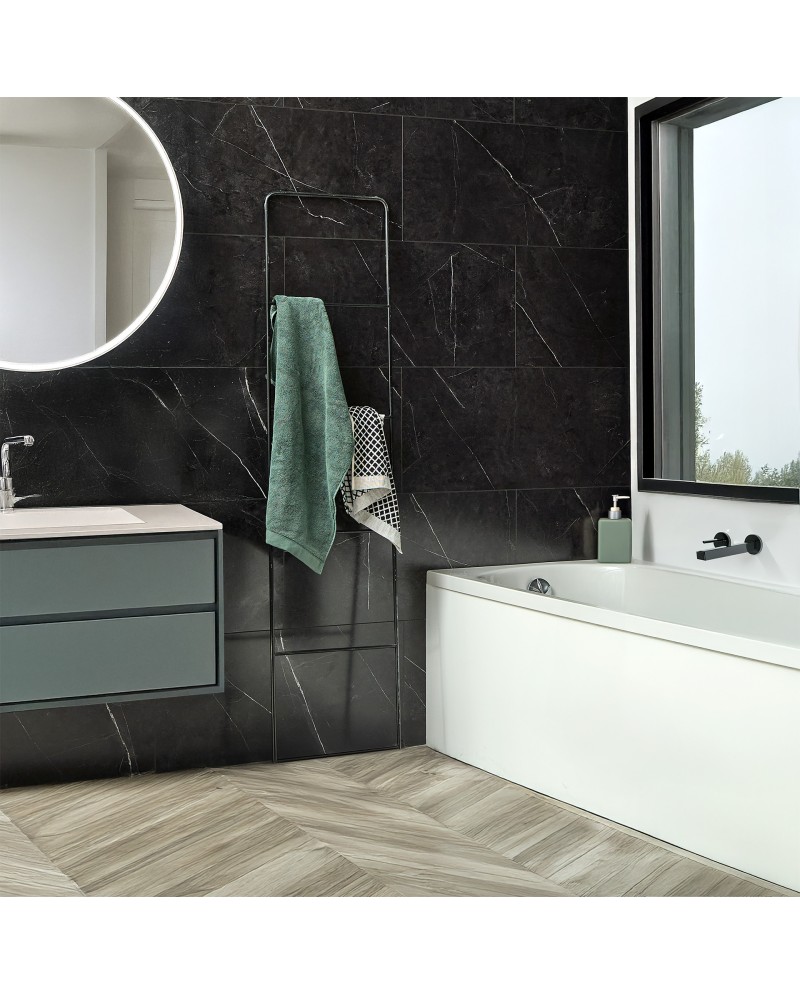
A wall easily and elegantly enhanced with SPC shower tiles and panels.
Combining aesthetics with high technical performance, these wall panels are the ideal choice for a simple, stylish, and durable renovation. Their clever groove system is designed to make installation easier, the composition ensures optimal waterproofing, and the sleek, understated finish blends seamlessly with any type of décor.
Data sheet
• Spirit level
• Measuring tape
• Rubber mallet
• Safety glasses and gloves
• Hand saw, circular saw or utility knife
• Clear waterproof silicone sealant
• Cartridge gun
• MS polymer-based adhesive suitable for PVC
• Make sure the surface is flat, clean, and completely dry.
• If the surface is painted or coated, carefully sand it down.
• Installation is not permitted on aerated concrete.
• Lay out the tiles on the floor to determine their orientation and optimize the arrangement. Aesthetic tip: Avoid small pieces along the edges.
• Measure and make the cuts on the front side of the tiles.
• Check that the adhesive is compatible with the substrate. Apply the MS polymer adhesive evenly along the edges of the panel and in the center in a wave pattern.
• Start installation from the bottom, with the tongue facing upwards, and remove the bottom groove.
• Press and adjust the tile against the wall.
• Make sure the first tile fits properly and is level.
• Fit the second tile into place, then immediately remove any excess adhesive as you go.
• Apply a bead of clear silicone into the groove at the back of the panel.
• Fit the second tile into place, then immediately remove any excess silicone using a clean cloth dampened with denatured alcohol.
Do not pour alcohol directly onto the product and do not use detergents.
• Before installing in a corner, remove the groove or tongue of the panel to bring the edges closer together (1 mm gap), and apply a bead of silicone.
• Corner and finishing trims may be available at your local DIY store for a neat finish. Be sure to add a 3 mm bead of clear silicone into the trim channels before snapping them into place.
-