


Area calculator

Wide range of more than 100 references

Committed and compliant products

Easy installation thanks to pre-assembly
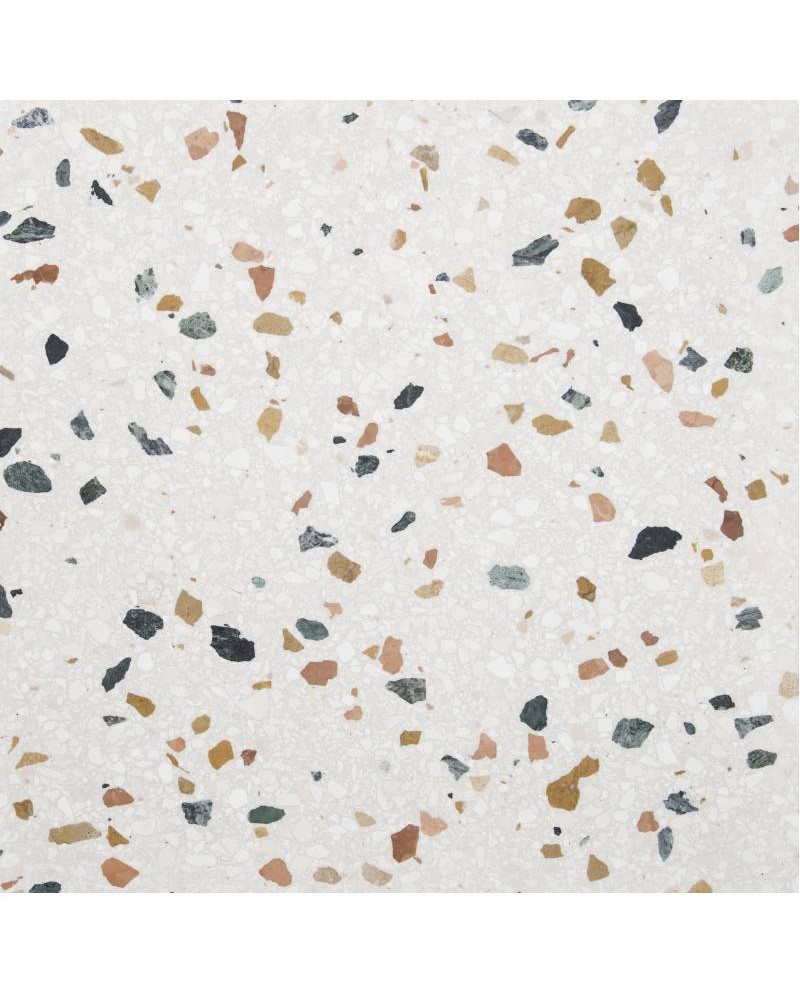
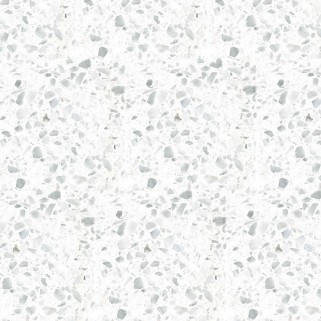
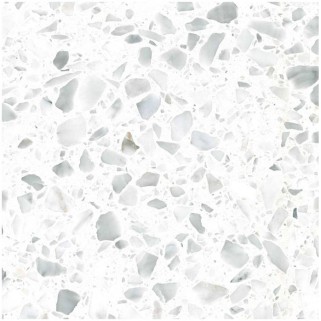
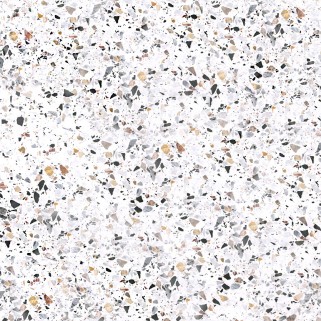
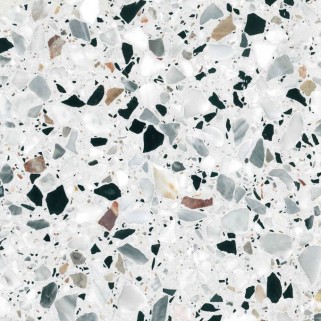
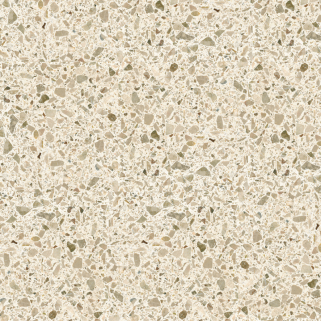
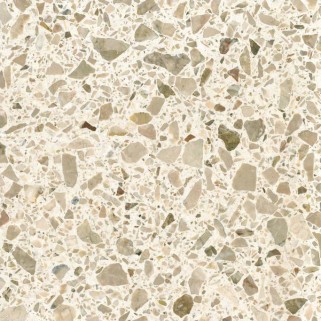
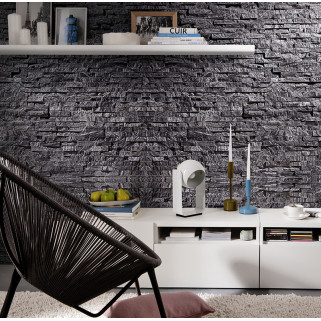
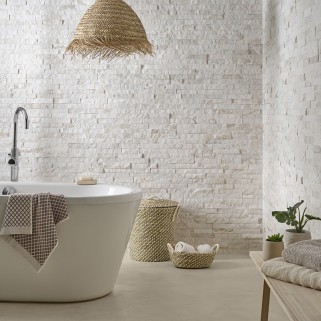
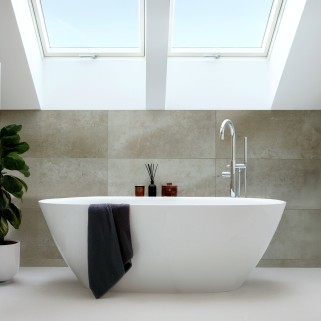
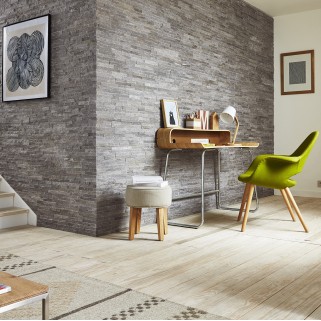
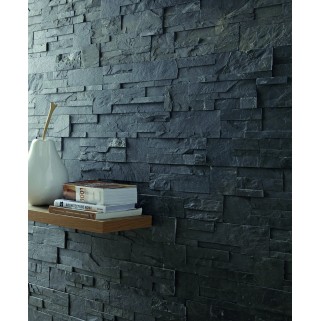
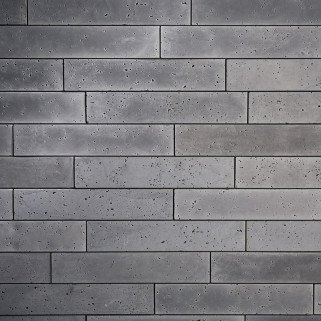
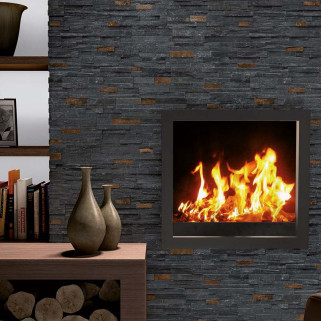
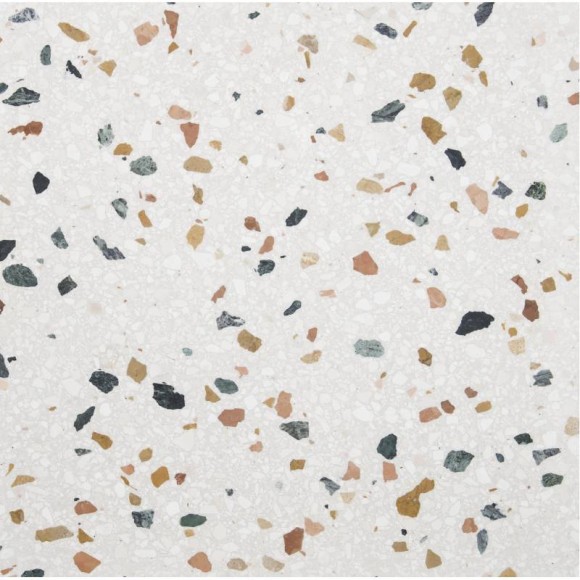
Terrazzo is making a remarkable comeback in interior design, bringing a touch of sophistication and character to all types of spaces.
Made from a precise blend of cement and natural stones, it offers unique and varied designs—perfect for elegantly dressing both floors and walls. Once again this year, terrazzo ranks among the leading interior design trends.
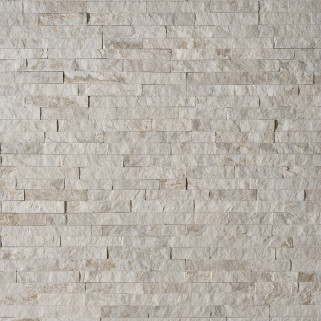
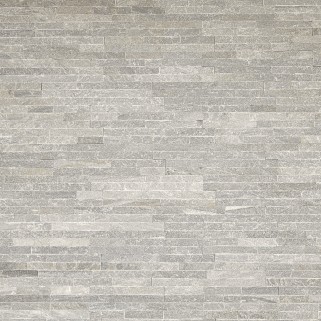
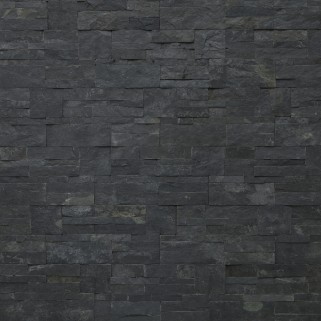
🌟 Unique design: Each terrazzo slab features a distinctive combination of stones and patterns, ensuring a one-of-a-kind result for every project.
🧼 Easy maintenance: A material that’s both stylish and practical—easy to clean and low-maintenance—ideal for high-traffic areas.
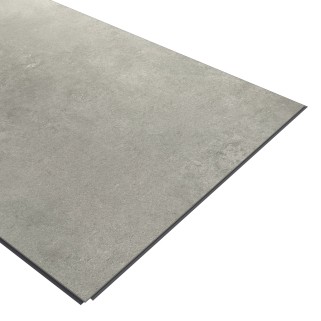
⏳ Durability: Terrazzo is a strong, long-lasting product, built to stand the test of time and add value to any space.
Data sheet
MATERIALS
• Square ruler
• Spirit level
• Tape measure
• U9 or V9 notched trowel
• Angle grinder with diamond blade
• High-performance tile adhesive (type C2S)
• Rubber mallet
• Safety goggles and gloves
• Water-repellent solution for outdoor or humid environments
• Grout
• Tiler’s float
• Tiling sponge
STEP 1: MIX THE SLABS
Before installation, as with traditional paving, mix the slabs to ensure better color consistency.
STEP 2: PREPARE A SUITABLE SURFACE
• Make sure the surface is flat, clean, and dry.
• Apply a water-repellent primer to the surface (follow the manufacturer’s instructions).
• Plan a precise layout (dry fit) to optimize cuts, anticipate alignments, and ensure an aesthetic result.
• Mark a guideline on the floor to ensure your first slabs are perfectly aligned.
STEP 3: START INSTALLING
• Make sure the slabs are laid in the correct orientation (smooth side facing up).
• Begin installation along the guideline you previously marked.
• Use a high-performance C2S-type tile adhesive with technical approval (wearing gloves is strongly recommended).
• Apply the adhesive using a U9 or V9 notched trowel, both on the floor and the back of the slabs, following the manufacturer’s recommendations.
STEP 4: REMOVE EXCESS ADHESIVE
It is essential to remove any excess adhesive during installation using a damp sponge.
STEP 5: MAKE CUTS WITH THE GRINDER
If cuts are needed, use an angle grinder fitted with a diamond blade. (Wearing safety goggles and gloves is strongly recommended.)
STEP 6: APPLY THE GROUT
• Wait until the adhesive is fully dry.
• Dampen the slabs and joints before grouting to avoid staining the edges.
• Apply the grout using a tiler’s float.
• Clean the slabs with clear water.
STEP 7: APPLY WATER-REPELLENT TREATMENT
• Ensure the slabs are completely dry before applying a water-repellent to protect them and make maintenance easier.
• Test the product on a spare piece or a single slab to observe the result. Some sealers have a neutral finish, while others create a wet effect.
• Slabs can be cleaned with clear water or a pH-neutral cleaning solution.