


-
Area calculator

Wide range of more than 100 references

Committed and compliant products

Easy installation thanks to pre-assembly
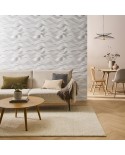
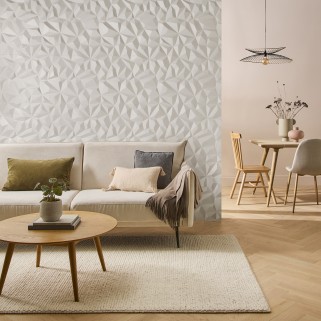
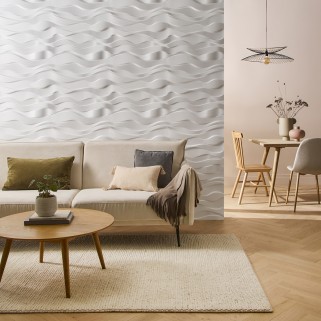
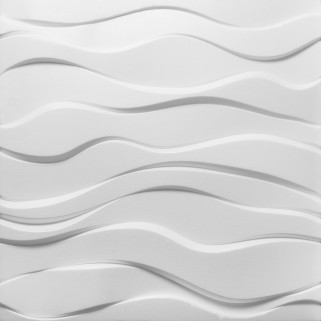
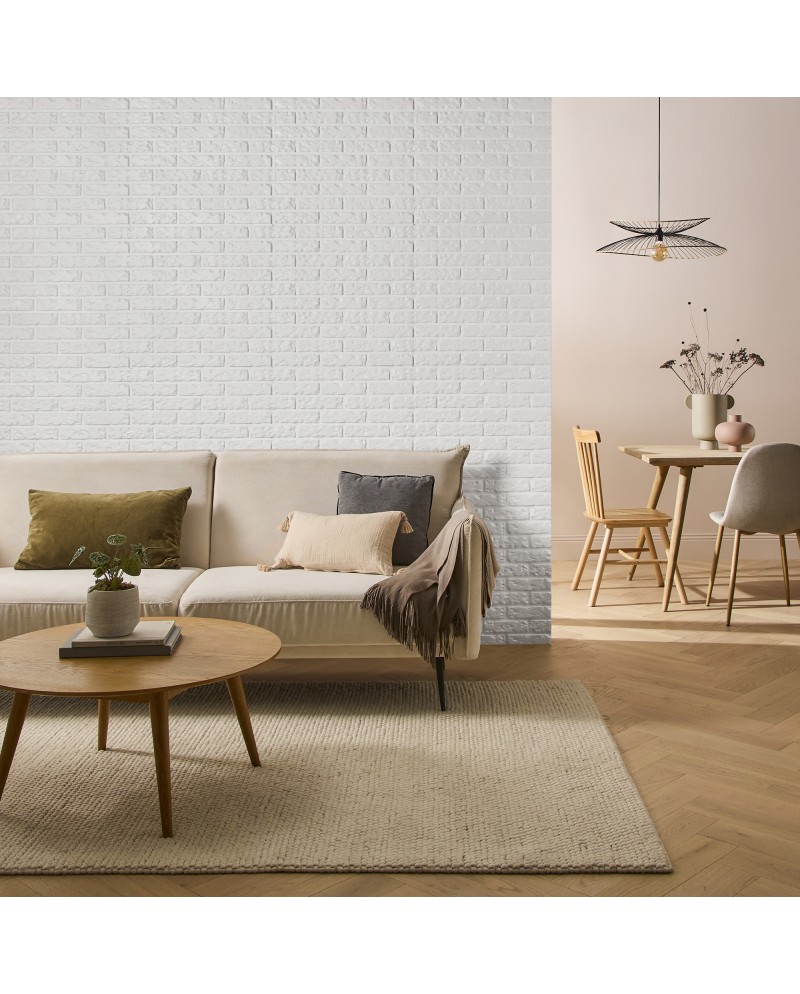
A simple solution to transform your walls effortlessly
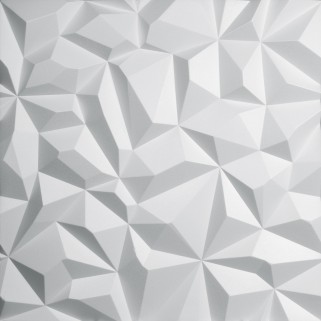
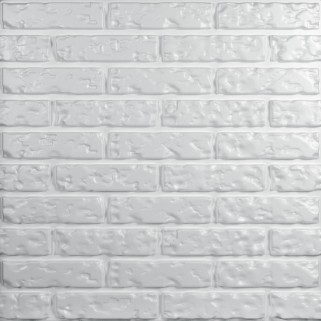
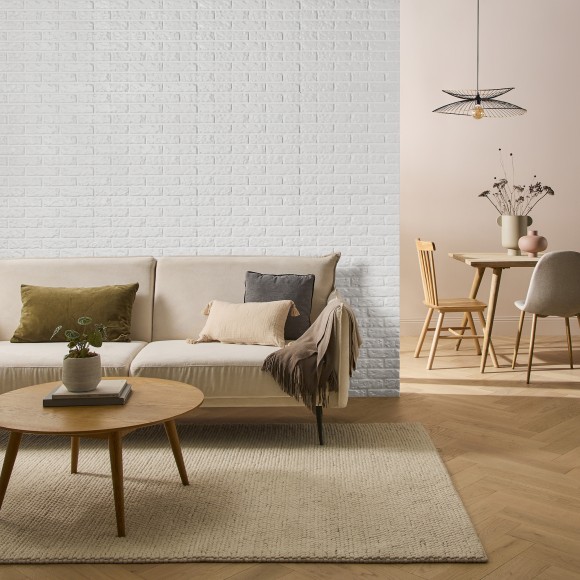
This lightweight, easy-to-install wall covering is perfect for adding texture and structure to a space. Made from expanded polystyrene, the panels feature a 3D brick pattern that evokes the raw, urban aesthetic of industrial lofts. Suitable for all environments, including humid areas, they can be cut, painted, and arranged with ease—offering great freedom for customization. A practical decorative solution to enhance any wall and bring character to any interior.
Data sheet
Required Tools
• Pencil
• Measuring tape
• Spirit level
• Utility knife
• Spatula
• Fine-grit sandpaper
• Polystyrene-compatible polymer adhesive
• Glue gun
STEP 1: Check the product before installation
• Inspect the general condition of the panels before any cutting or mounting.
STEP 2: Prepare the installation surface
• The wall must be dry, clean, sound, and perfectly flat.
• If the wall is painted or coated, sand or strip the surface to ensure proper adhesion.
• Not suitable for areas exposed to heat (near fireplaces, stoves, etc.).
STEP 3: Dry fitting
• Lay out the panels to anticipate cuts and check the visual arrangement.
• A straight-line layout is recommended for a uniform result.
STEP 4: Cutting and adjusting the panels
• Cut the panels with a clean, sharp utility knife.
• In case of irregularities, lightly sand the edges with fine-grit sandpaper.
STEP 5: Gluing the panels
• Apply adhesive to the back of the panel using a spatula, forming a wave-like pattern and emphasizing the edges.
• Start installation from the bottom of the wall.
• Gently press the panel against the surface to avoid deformation.
• Use a spirit level to check alignment starting from the first row.
STEP 6: Finishing
• Wait 48 hours before painting the panels (only use water-based paints).
• Do not cover the panels during the drying process.
Recommendations
• For indoor use only
• Seamless installation
• Do not expose to direct heat sources
ADIB declines all responsibility in case of non-compliance with the instructions. Installing the product implies acceptance of these conditions; once installed, no claims will be accepted except in the case of hidden defects.
-