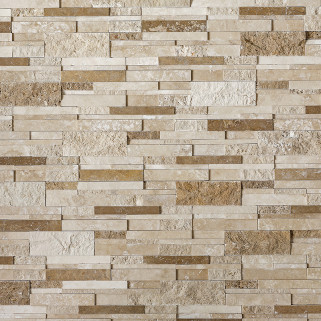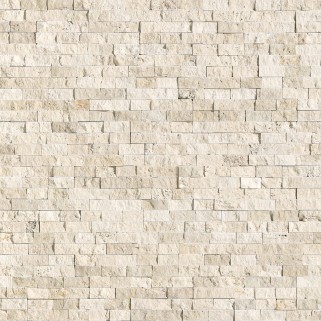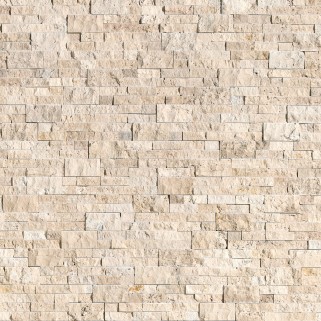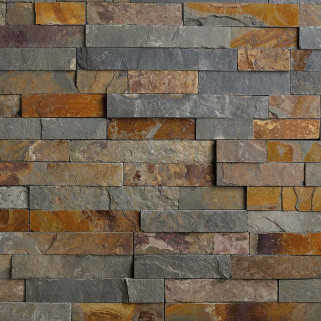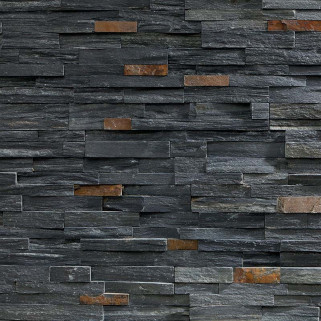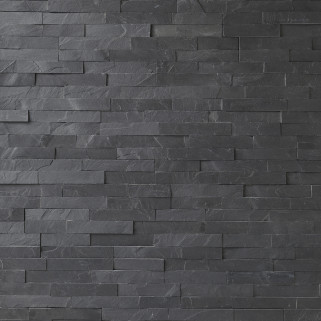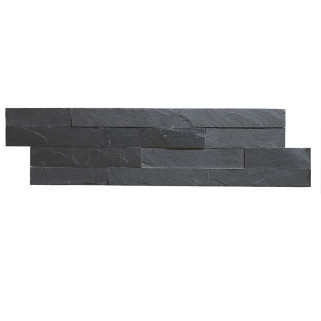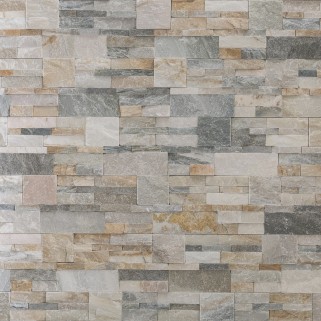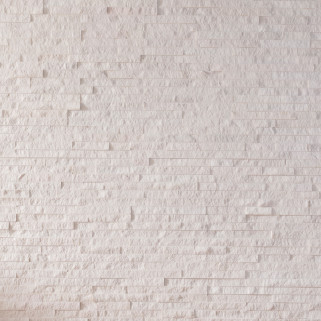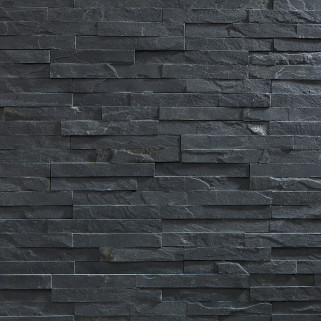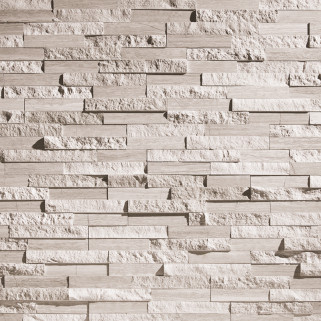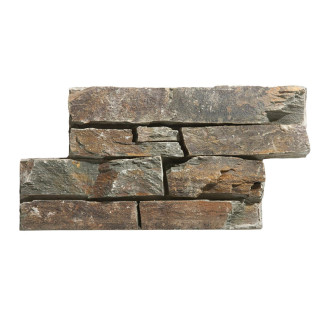


Premium Grey Travertine Cladding Panel
↕️ Dimensions: 40 x 15 x 1.2–2 cm
Suitable for both indoor and outdoor use.
Installed without joints, except in wet areas where 2 mm joints are recommended.
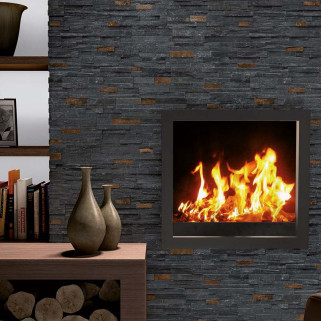
Can be installed near a heat source (observe a safe distance and use appropriate backing material).
Area calculator

Wide range of more than 100 references

Committed and compliant products

Easy installation thanks to pre-assembly
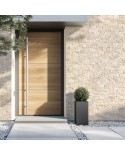
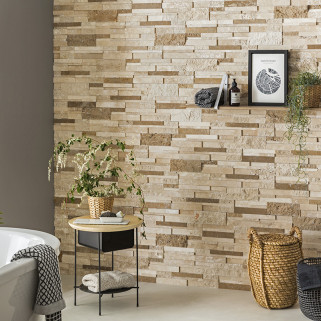
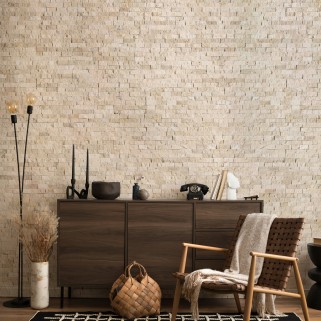
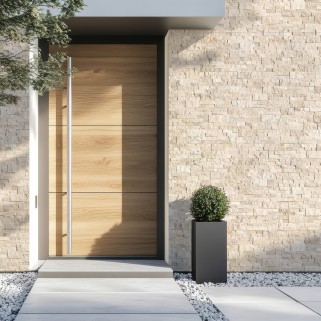
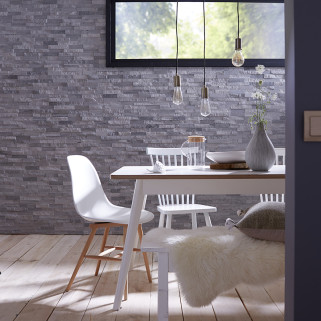
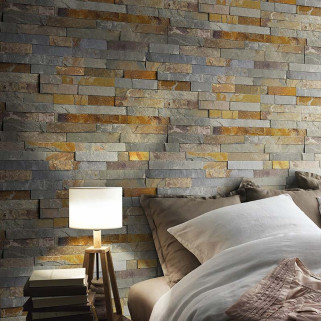
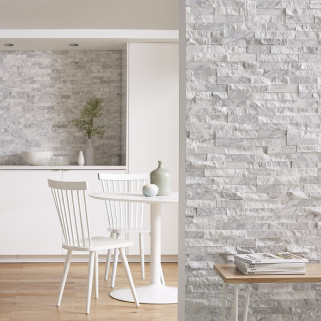
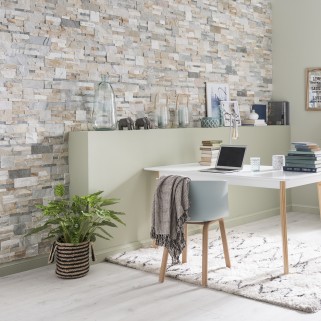
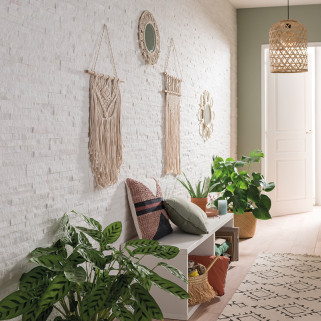
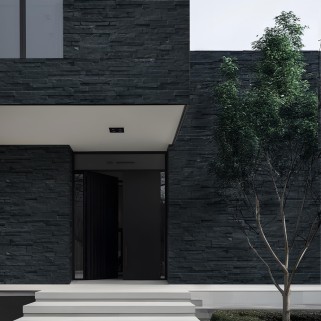
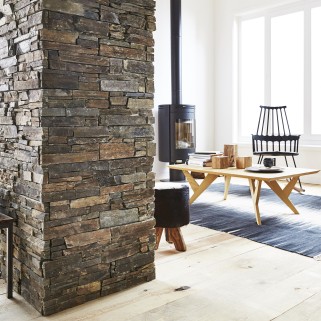
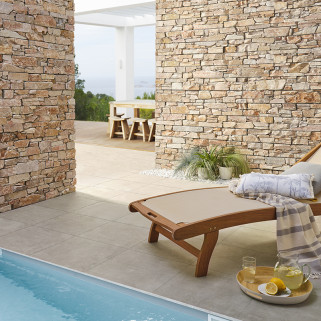
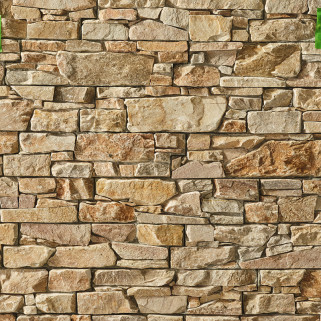
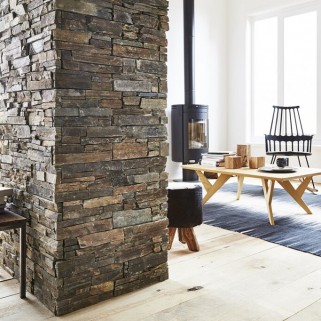
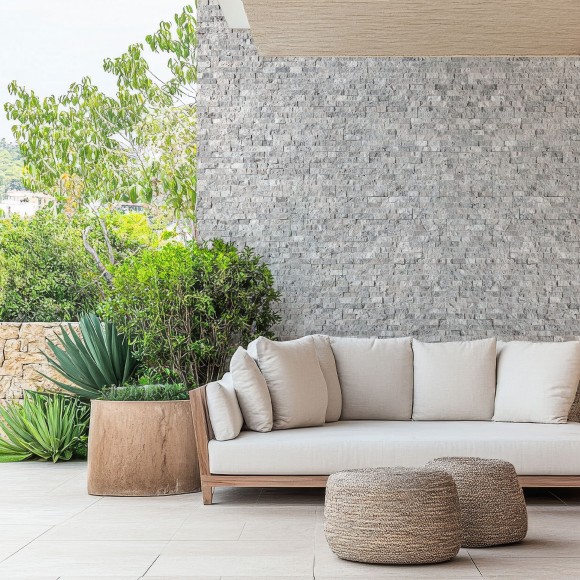
Dare to Embrace the Authenticity of Stone in Your Living Space
For a stylish and trendy design, travertine showcases its finest qualities with our cladding panels. Easy to install, they come in various colors and sizes to suit all styles, both indoors and outdoors. Genuine travertine is both modern and authentic. It creates a warm atmosphere and dresses a room with elegance and subtlety. Its Z-shaped format makes installation easy, requiring no grouting. A 3D effect is created to enhance your space, adding texture and depth.
Data sheet
Materials:
Before installation, mix the panels from different boxes to achieve better color uniformity.
The surface must be flat, clean, and dry.
Remove any wallpaper and/or roughen the surface.
Apply a bonding primer.
For exterior installation (except certain panels): use a powdered C2S adhesive mortar with technical approval (gloves strongly recommended).
Do not add lime to the adhesive mortar.
For interior installation: use a high-performance paste tile adhesive (gloves strongly recommended).
Use a notched trowel to apply the adhesive according to the manufacturer’s instructions.
For exterior installation, double application of adhesive is mandatory—both on the back of the panels and on the surface to be covered. For interior installation, a single application on the panels may suffice.
Begin installation at the bottom of the wall (the first row must be laid on the floor) applying firm pressure on the panels.
For exterior surfaces, install a damp-proof course at the base of the cladding to prevent capillary rise.
Place the following panels respecting the level lines and checking flatness.
Install stones in a staggered pattern to cross the joints.
Correct minor unevenness with a rubber mallet.
It is essential to remove excess adhesive as you go since it is difficult to clean once dried.
If cuts are necessary, use a diamond blade grinder (safety goggles and gloves strongly recommended).
Perform cuts on the back of the panels.
It is recommended to install panels with joints using spacers or crosses of at least 8 mm.
Follow the supplier’s recommendations for joint preparation; avoid overly liquid joints (risk of discoloration due to absorption).
Fill joints fully and compact with a jointing tool.
Brush the joints for a better finish.
If the joint overflows and is too liquid, wait until it begins to harden before removing to avoid staining the panel. Lightly brush or wipe with a damp sponge.
Protect your panels with a water repellent to safeguard the stone and facilitate maintenance.
Test the water repellent on a single panel first to check the reaction—some products keep the natural look, others give a wet effect.
Panels can be cleaned without scrubbing, using clear water or a neutral pH solution.
Do not cover the surface during drying.
Adib Lithos declines all responsibility if these installation instructions are not followed.
Installation implies acceptance of the product and conditions; no complaints will be accepted afterward except for hidden defects.

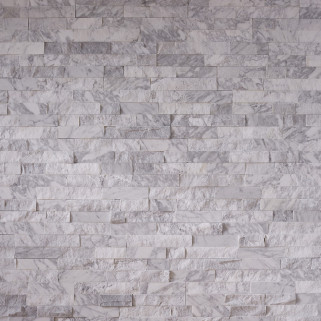
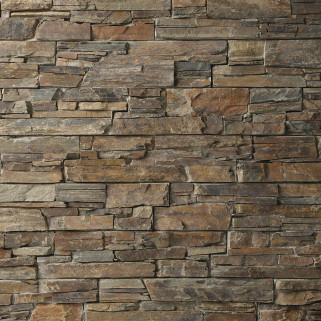
Premium Grey Travertine Cladding Panel
↕️ Dimensions: 40 x 15 x 1.2–2 cm
Suitable for both indoor and outdoor use.
Installed without joints, except in wet areas where 2 mm joints are recommended.
Can be installed near a heat source (observe a safe distance and use appropriate backing material).