


-
Area calculator

Wide range of more than 100 references

Committed and compliant products

Easy installation thanks to pre-assembly
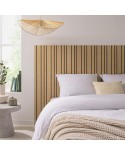
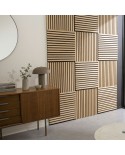
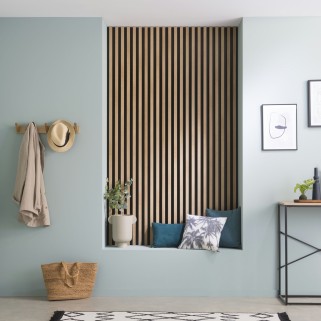
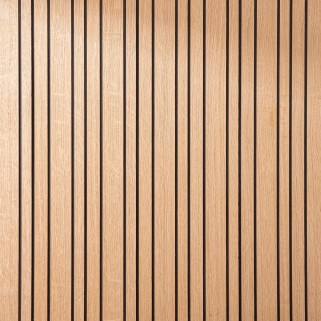
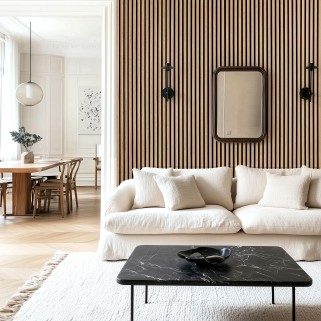
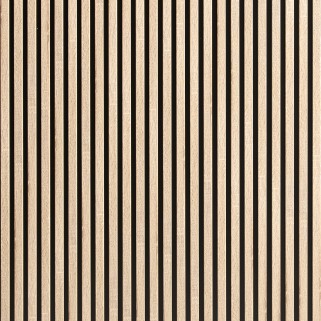
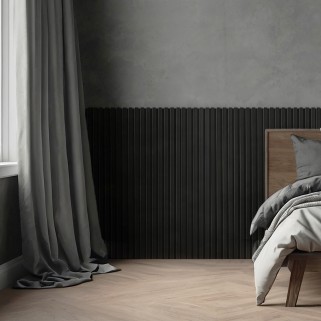
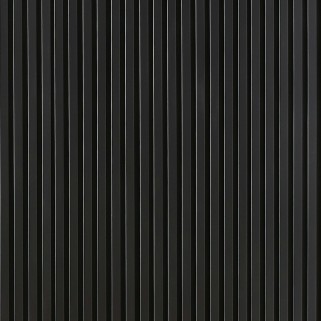
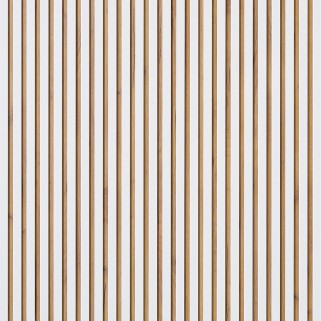
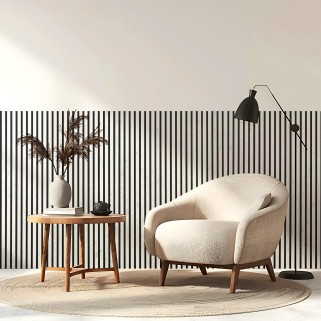
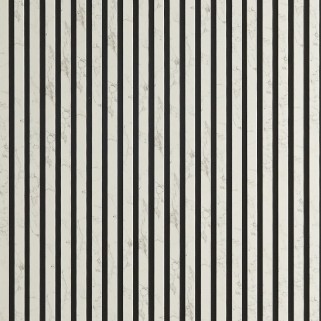
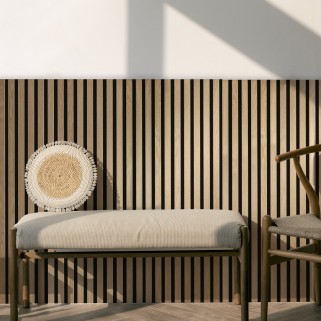
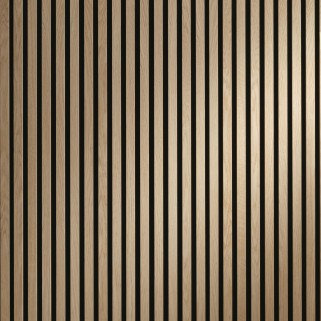
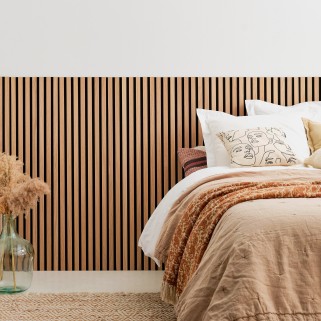
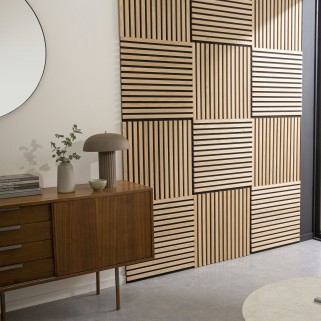
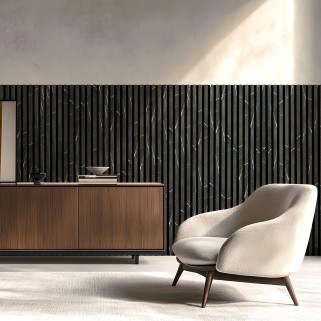
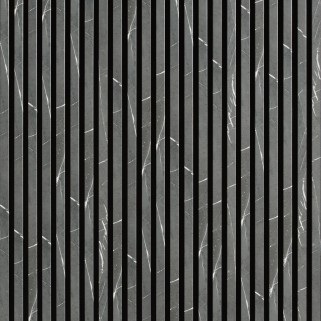
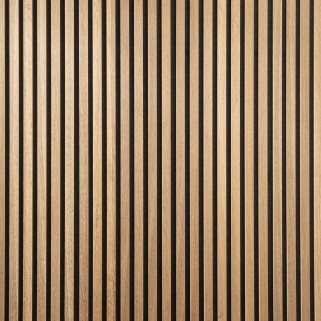
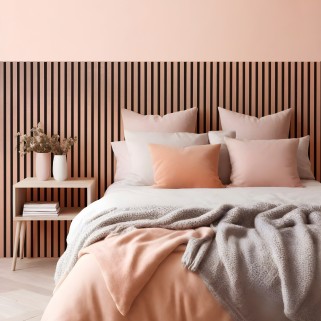
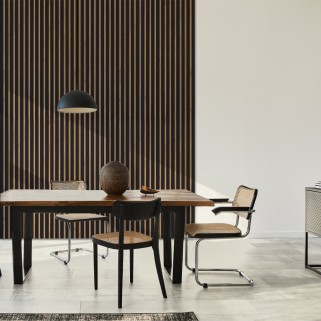
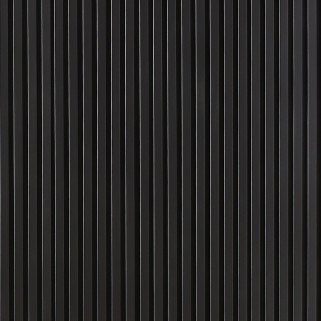
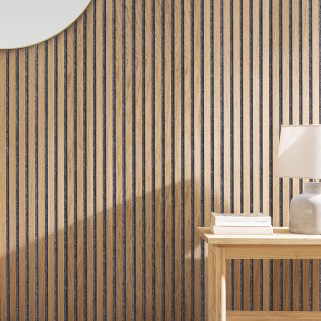
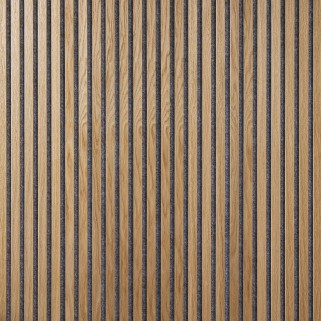
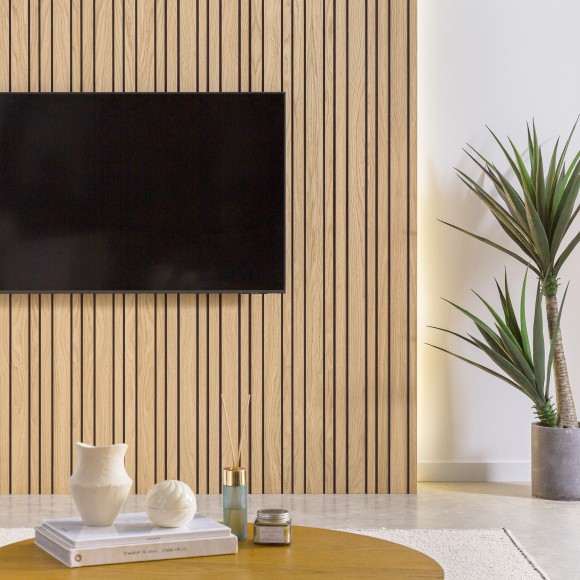
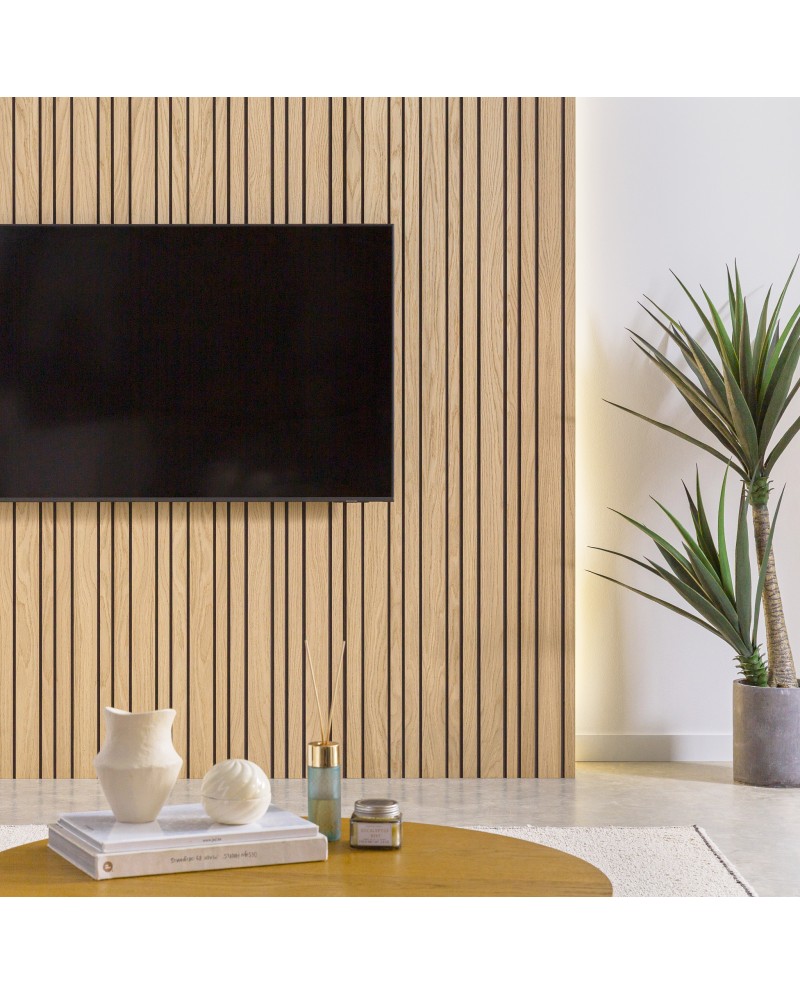
A modern & minimalist decoration embodied by the clean lines of slatted wood panels.
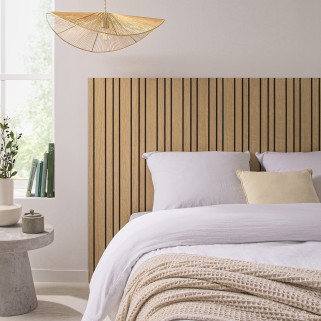
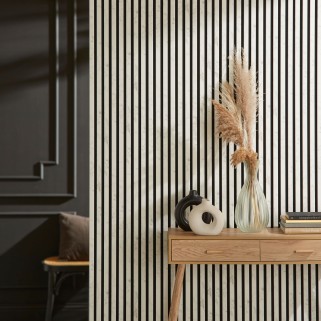
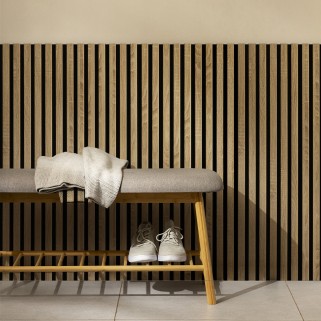
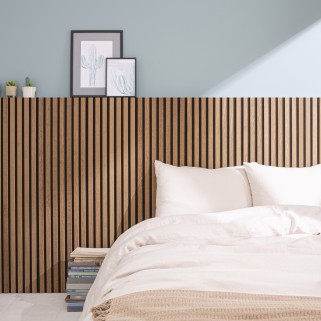
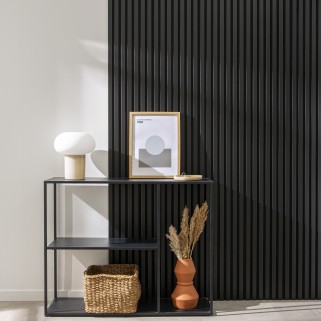
More on-trend than ever, wall panels boldly stand out along our walls. Whether in an entryway, living room, or bedroom, slats both decorate and inspire. They are perfect for adding character to a plain wall and bring true charm to our living spaces.
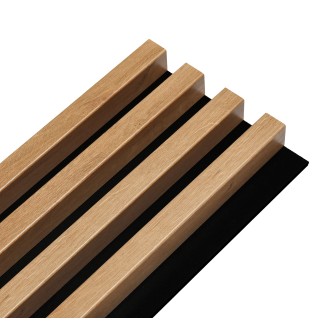
🌳 Wood sourced from sustainable forests and respectful of the local environment.
🛠️ Lightweight and easy to install, they can be fixed with glue or screws, making renovation projects simpler.
Data sheet
Indoor installation only.
Installation is prohibited in excessively hot or humid environments.
• Pencil
• Square
• Spirit level
• Cartridge gun
• Polymer glue (cartridge)
• Hand saw or circular saw
• Screwdriver
• Black drywall screws
• Carefully remove the protective film, making sure not to damage the panel.
• To ensure flatness, lay the panels flat on the floor for 24 to 48 hours.
• Mix the panels to harmonize color tones.
• Ensure the surface is flat, clean, and completely dry.
• Installation is not allowed in overly hot or humid environments.
• Apply glue along the panel edges, then in wave patterns down the full length.
• Press and position the panels so they overlap one another.
• Install horizontal battens every 30 to 50 cm depending on panel size (make sure a batten is placed at both the top and bottom of the wall).
• Use the panel overlapping system to connect them together.
• Attach the panels to the battens using black screws.
-